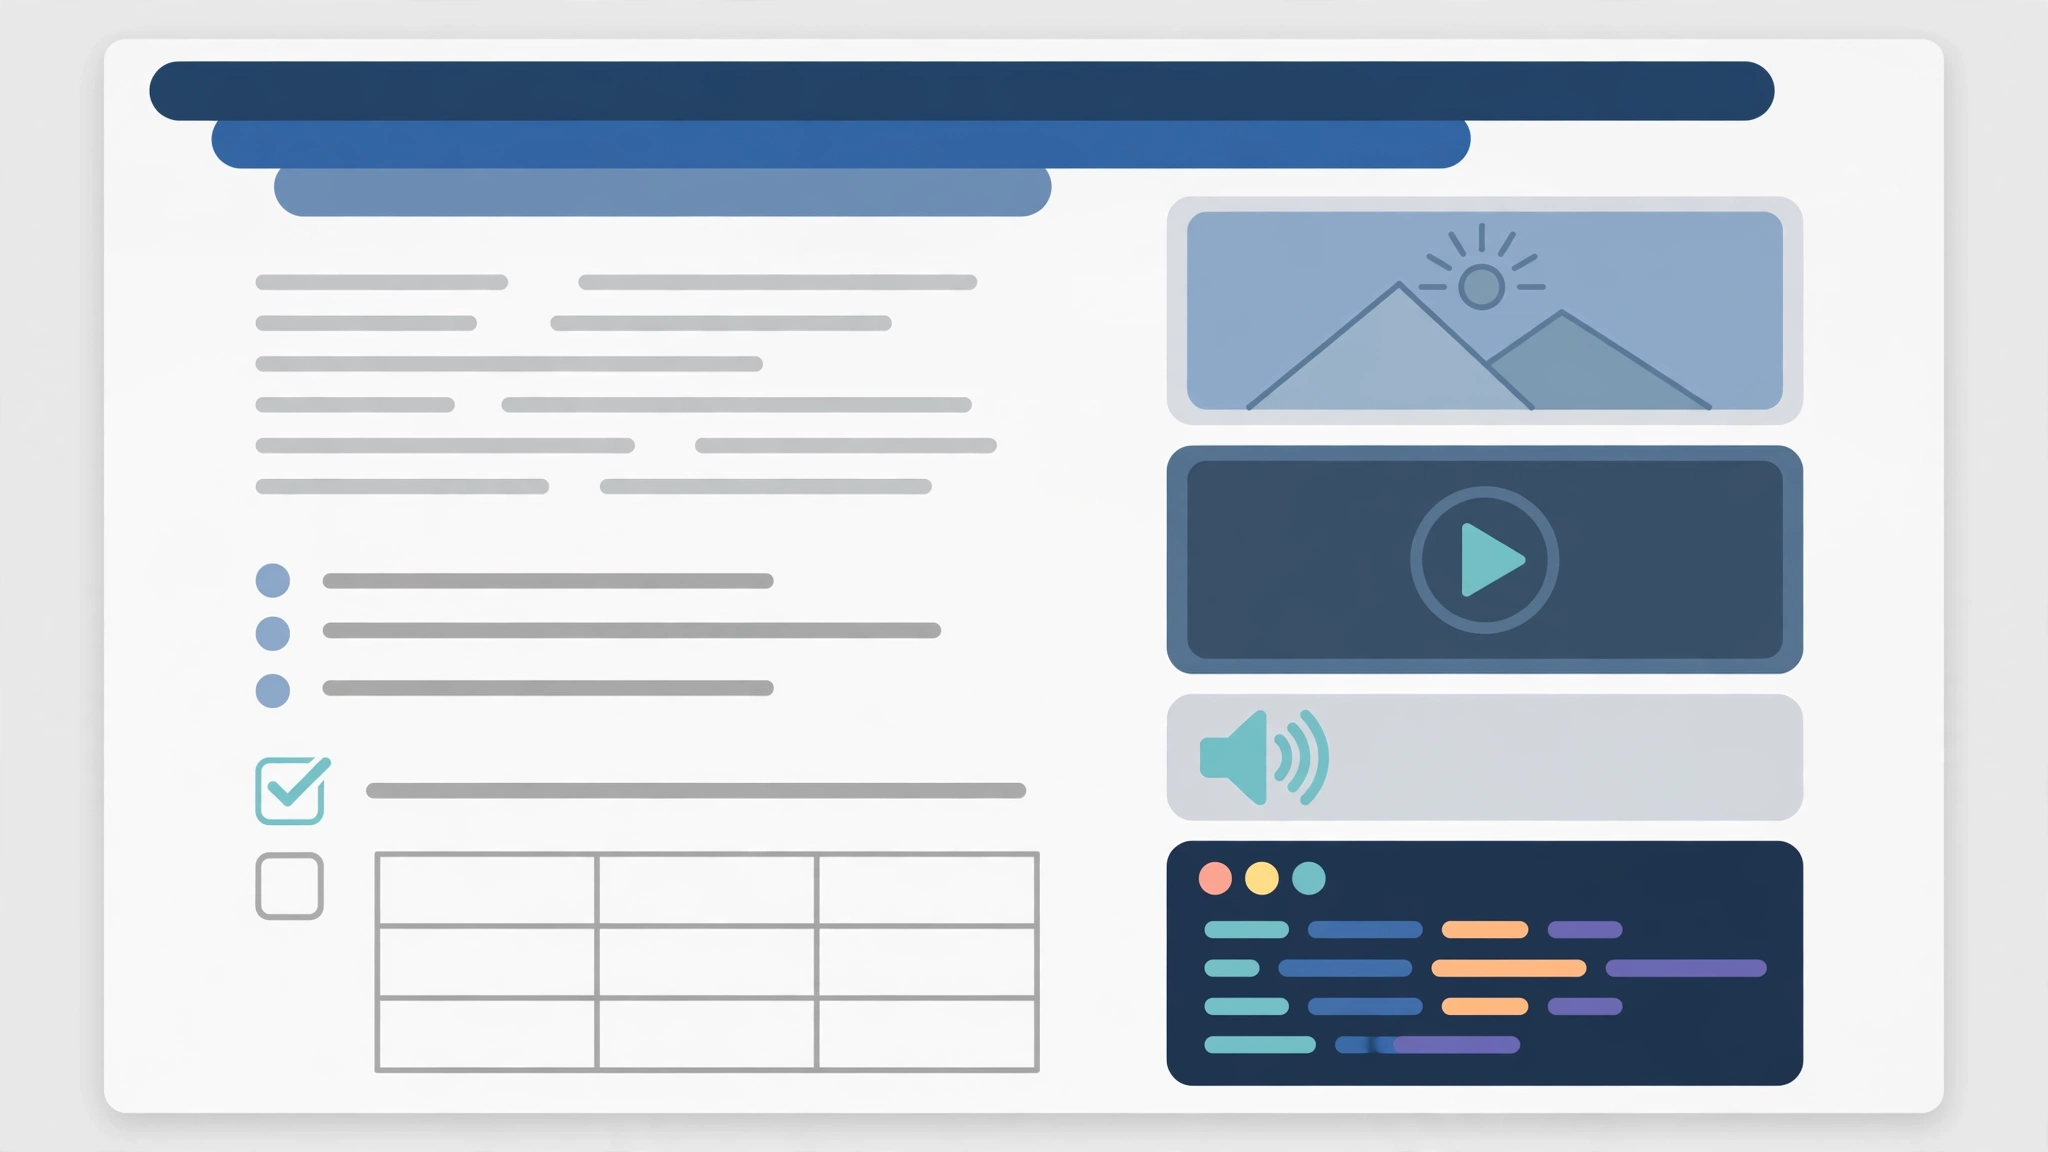
This is a ready-to-use Markdown article example. Use it to see how content appears on the site, then copy, edit, and replace it with your own. The headings, descriptions, and media URLs below are demonstration material.
Make the content clear first, then choose its formatting. Good formatting helps readers understand; it does not replace the content.
Article structure
Use heading levels to organize topics. Start each section with an introduction, then add more specific subsections when needed.
A subsection under a topic
This is a regular paragraph. Use paragraphs to introduce background, explain an idea, or preview what comes next. Leave a blank line between paragraphs.
A more specific section
Headings can be nested further. Use heading levels in order rather than skipping levels just to change the font size.
Inline text formatting
The body supports bold, italic, strikethrough, inline code, and regular links. Use these to highlight terms, command names, or references.
Lists and quotes
Unordered list
- First item: list a point or material.
- Second item: an item can be a complete sentence.
- Third item: indent two spaces for nested items:
- Sub-item A
- Sub-item B
Ordered list
- Identify the problem to solve.
- Explain the process step by step.
- Summarize the result or what to do next.
Task list
- Add a title and summary
- Create the article structure
- Replace the sample with your own content
Tables
Tables work well for short, comparable information:
| Content type | Good for | Example |
|---|---|---|
| Paragraph | Introduction and explanation | Background |
| List | Related points | Preparation |
| Code | Technical examples | Configuration |
Code
Use inline code for commands such as npm run build. Add a language identifier to a fenced code block for syntax highlighting:
type Article = {
  title: string;
  published: boolean;
};

const example: Article = {
  title: "Markdown Content Showcase",
  published: true,
};

console.log(example.title);
You can use other language identifiers, such as Shell:
npm install
npm run dev
Images and media
Images
Insert images with Markdown. This example uses the site avatar; replace it with an image from the public/ directory when writing your own article.

Use HTML when you need a specific size or CSS class:
Audio
Use the HTML <audio> element for audio. Replace the sample URL with an audio file you have permission to use:
Video files
Use <video> to play a video file. Replace src with a local media path or an accessible video URL:
Embedded video
Some video platforms provide iframe embed code. This example uses YouTube’s privacy-enhanced mode; replace the video ID and check that embedding is allowed before publishing:
Extra notes
Use collapsible content for supplementary explanations, or remove it when not needed:
Show a supplementary note
Use this space for terminology, extra tips, or details that are not essential to the main text.
In summary
An article can combine an introduction, sections at different heading levels, media, and a conclusion. You do not need to use every component; choose the format that suits the content. Remember to replace the text, images, and media URLs in this example.